Patient Locator Configurations
Patient Locator is used to configure both the clinical patient locator and the public patient display. Patient Locator can be found in Admin Home in the Configuration section.
A user must have Patient Locator and Center Configuration permissions in order to access the Patient Locator Configurations.
Jump to:
Clinical Patient Locator Configurations
Public Patient Display Configurations
Clinical Patient Locator Configurations
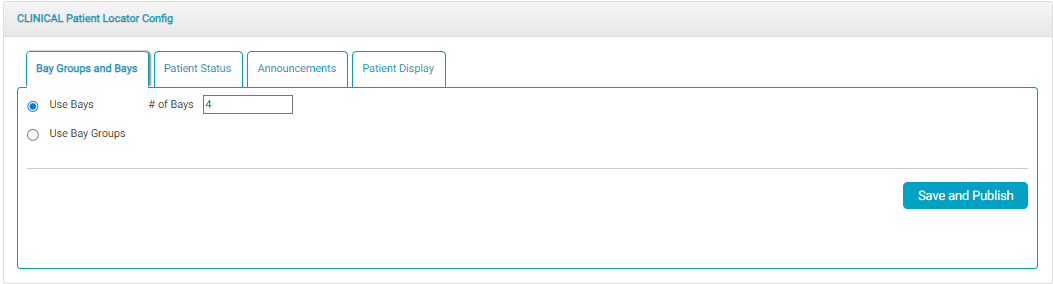
The Clinical Locator configurations has four tabs: Bay Group and Bays, Patient Status, Announcements, and Patient Display.
- Bay Groups and Bays - From this tab user can select if the Center will use Bays or Bay Groups. To add a Bay Group, tap "Add New" at the bottom of the table. To delete a group, tap the trashcan icon. To edit a Bay Group Name, tap in the name and a text cursor will appear. Tap the Save and Publish button to save any changes. NOTE: user must enter a Bay Group Name and an integer (greater than 0) in order to save the grid entry.
- If the user elects to use Bays, enter the total number of bays desired in the provided field.
- Patient Status - From this tab, select any of the standard alerts that should show in red by checking the "Highlight in Red" checkbox. Create custom patient statuses by tapping "Add New." User must enter the Status ID# and Status Text for DropDown List, and may check whether the status should be highlighted in red. The text in the Status Text for DropDown List is what will display on the Clinical Patient Locator and in the drop-down menu when adding a status in the Patient Status BLOC. Click Save and Publish to save the custom status.
- Announcements – This setting is used to set an announcement to appear at the bottom of the Clinical Patient Locator. Tap "Add New" to create a new announcement. Type the desired announcement and set an expiration date and time. The announcements will still be listed in the grid after they expire but will not continue to appear in the Clinical Patient Locator. Multiple active announcements will continuously flash in succession for a few seconds each. To delete an announcement, tap the trashcan icon. Tap Save and Publish to save any changes or deletions.
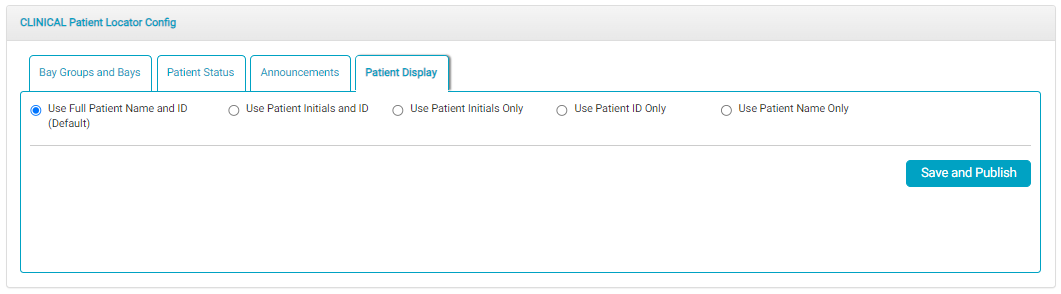
- Patient Display – The center can choose how the patient is identified on the Clinical Patient Locator using the Patient Display tab. The user can select a radio button for the identifiers that are desired: Full Patient Name and ID, Patient Initials and ID, Patient Initials Only, Patient ID Only, or Patient Name Only. Click Save and Publish to save the selection. The default value is Full Patient Name and ID.


Public Patient Display Configurations
At a minimum, the public locator displays the patient number and the patient’s current location. To include the Physician Name, Notes, scheduled procedure room, or the scheduled time, check the appropriate checkbox.
